Wat Pha Latวัดผาลาด

Chiang Mai · Mountain temple among streams and forest

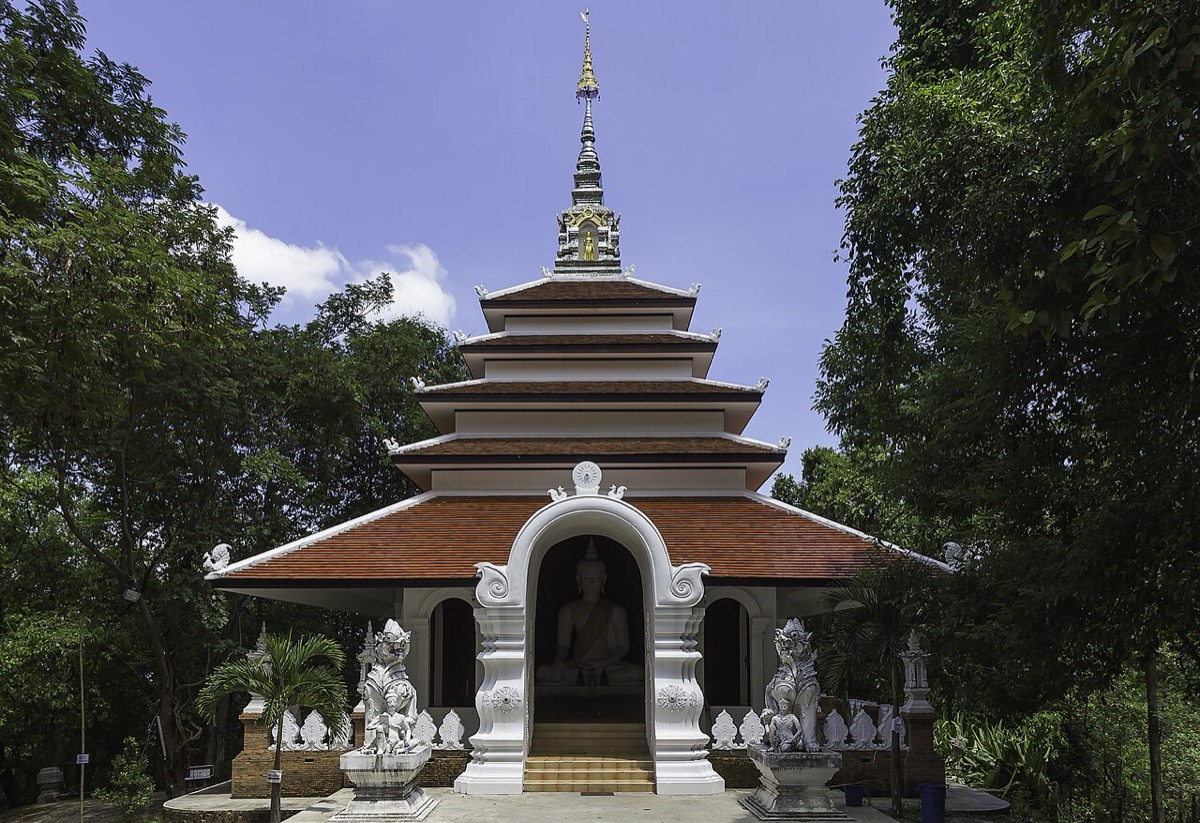
Wat Pha Lat is a forest temple on the route from Chiang Mai up to Doi Suthep. Small waterfalls and streams, chedis and halls appear among the trees, making it a place to walk through a mountain forest setting.

You can reach the temple by vehicle; the Monk’s Trail is a separate forest path. You do not need to hike to see the streams, a well connected with the white elephant legend and a chedi restored in a later period. Wat Phra That Doi Suthep is a different site farther up the mountain road.

Location and getting there

The pin marks the place, not necessarily its entrance, ticket office or vehicle drop-off point.

Address

101, Sriwichai Alley, Mueang Chiang Mai District, Chiang Mai 50200

The vehicle road and Monk’s Trail follow different routes

The temple address is 101 Sriwichai Alley, Chiang Mai. The vehicle route to the temple and the starting point for the Monk’s Trail are different. Even without hiking through the forest, you can arrive by vehicle and see the streams, well and chedi in the temple grounds.

Essential visitor information

Visiting hours
06:00–18:00
Admission
Free

What can you see?

A forest temple where a white elephant is said to have rested

A legend says that a white elephant carrying a Buddha relic towards Doi Suthep slipped here. The Tourism Authority explains that the name Pha Lat came from a Chiang Mai dialect word meaning “to slip”. The story connects the temple’s name with its position along the route up to Wat Phra That Doi Suthep.

The Tourism Authority describes this as a site with a history of about 600 years, dating from around the time of Wat Phra That Doi Suthep. Rather than treating the legend as a confirmed historical fact, read it as an old pilgrimage story along the mountain road. Look separately at the forest halls and chedi as they are today, including signs of later restoration.

A well linked to the white elephant legend and a forest chedi

There is a well in the grounds said to have been made where the white elephant carrying the relic stopped to rest. After learning the elephant story behind the temple’s name, look for the well to see how the legend connects with a real place.

Beside the small waterfalls and streams is a chedi restored in a later period with Burmese and Mon influences. Look at its shape alongside the water to see how later architecture became part of a temple on the mountain route marked by the white elephant legend.

Choosing between a temple visit and a forest hike

The temple is halfway along the route up to Doi Suthep, so you can include both temples in one outing. They are not adjacent halls within one compound, however. Allow time to visit this temple and time to travel onwards to the next place.

To walk the Monk’s Trail, find its forest-trail access point separately from the vehicle route to the temple. If it has been raining, check trail conditions and access guidance on site first. You do not have to hike the trail to enjoy the temple’s setting among water, trees and architecture.

Before you visit

Suggested clothing for a temple visit

For all visitors, we recommend wearing clothing that covers the shoulders and knees. A sleeved top with long trousers or a skirt that covers the knees is a good choice. Please dress modestly rather than wearing a sleeveless top or short bottoms.

Frequently asked questions

Can I visit the temple without hiking the Monk’s Trail?

Yes. There is a vehicle route to the temple partway up the road to Doi Suthep. The Monk’s Trail is a separate forest path, so you do not need to hike to visit the small waterfalls, well and chedi in the temple grounds.

What is the story behind the white elephant and the well?

A legend about a white elephant carrying a Buddha relic and slipping here is connected with the temple’s name. The well in the grounds is also said to have been made where the elephant stopped to rest. These are mountain pilgrimage traditions, not confirmed historical dates for the buildings.

Sources checked:

Official sources · 2

Sharing image credit: Stefan Fussan / Wikimedia Commons · CC BY-SA 3.0